Accessing Raspberry Pi From Internet: A Beginner's Guide For Tinkerers
Accessing Raspberry Pi from internet has become a hot topic among tech enthusiasts, hobbyists, and professionals alike. Imagine being able to control your home automation system, monitor security cameras, or even manage remote servers—all from the comfort of your phone or laptop, no matter where you are in the world. The possibilities are endless! But how do you make this magic happen? Let’s dive into the world of Raspberry Pi and unlock its hidden potential for remote access.
Whether you’re a seasoned developer or just starting out with Raspberry Pi, accessing it from the internet can seem intimidating at first. But don’t worry, we’ve got you covered. This guide will walk you through everything you need to know, step by step, so you can confidently set up your Raspberry Pi for remote access.
In today’s connected world, having the ability to access your Raspberry Pi from anywhere is not just a cool trick—it’s a necessity. From automating your smart home to managing remote projects, this skill can open doors to countless opportunities. So grab your favorite beverage, sit back, and let’s explore how to make this happen!
Why Accessing Raspberry Pi from Internet Matters
Before we dive into the technical details, let’s talk about why accessing Raspberry Pi from the internet is such a big deal. Picture this: you’re on vacation in another country, and you suddenly remember that you forgot to turn off the lights at home. With a Raspberry Pi set up for remote access, you can log in, control your smart home devices, and save yourself some electricity bills. Cool, right?
But it’s not just about convenience. Remote access allows you to:
- Monitor and control IoT devices in real-time
- Access files and data stored on your Raspberry Pi from anywhere
- Run remote servers for web hosting, file sharing, or even gaming
- Perform system maintenance and troubleshooting without being physically present
Accessing Raspberry Pi from internet is not just a hobbyist’s dream—it’s a practical solution for anyone looking to enhance their tech setup.
Understanding the Basics of Raspberry Pi
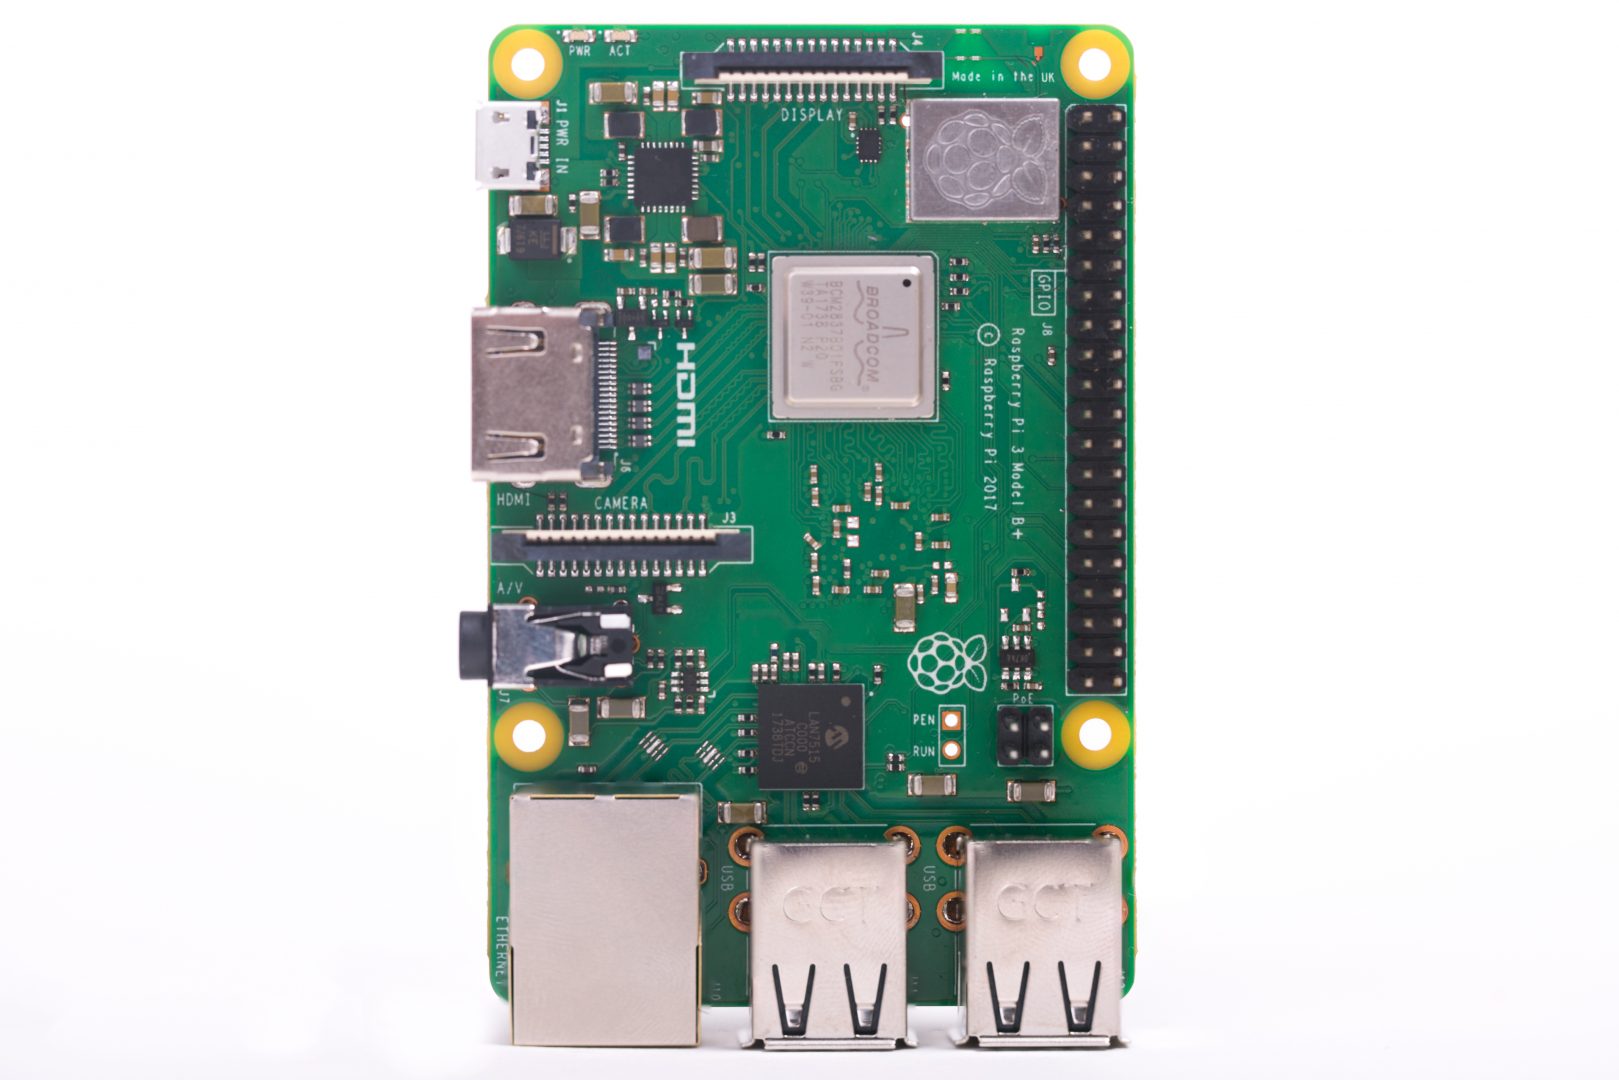
Before we get into the nitty-gritty of remote access, let’s take a moment to understand what Raspberry Pi is all about. For those who are new to the world of single-board computers, Raspberry Pi is a tiny but powerful device that can run a full-fledged operating system. It’s like having a mini computer in the palm of your hand!
Here are some key features of Raspberry Pi:
- Compact size and low power consumption
- Support for multiple operating systems, including Raspbian, Ubuntu, and more
- GPIO pins for connecting sensors, actuators, and other hardware
- Built-in networking capabilities, including Wi-Fi and Ethernet
Understanding these basics will help you better grasp how to set up your Raspberry Pi for remote access.
Choosing the Right Raspberry Pi Model
Not all Raspberry Pi models are created equal. Depending on your project requirements, you might want to choose a specific model that suits your needs. Here’s a quick rundown of the most popular models:
- Raspberry Pi 4: The latest and greatest, with powerful processing capabilities and support for dual monitors.
- Raspberry Pi 3: A solid choice for most projects, offering a good balance of performance and price.
- Raspberry Pi Zero: The smallest and most affordable option, perfect for lightweight applications.
Make sure to choose a model that aligns with your project goals and budget.
Setting Up Your Raspberry Pi for Remote Access
Now that you have a basic understanding of Raspberry Pi, let’s move on to the main event: setting it up for remote access. This process involves several steps, but don’t worry—we’ll break it down into manageable chunks.
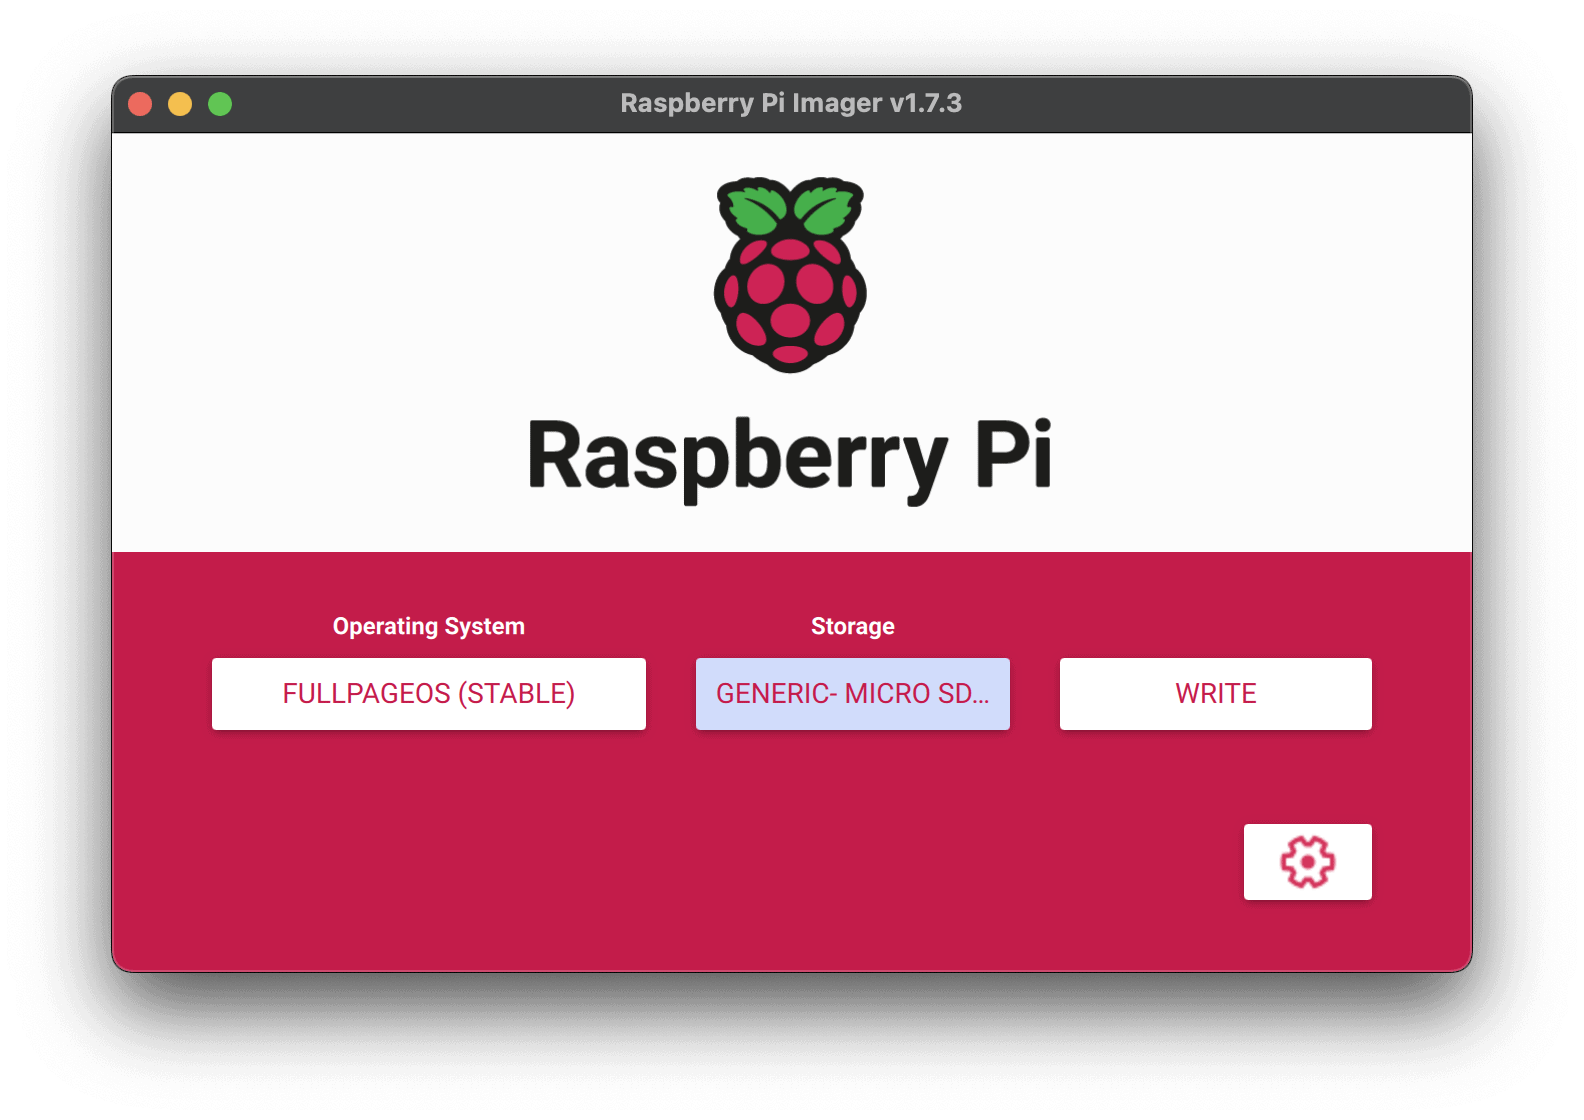
Step 1: Install the Operating System
The first step is to install an operating system on your Raspberry Pi. Raspbian is the most popular choice, but you can also opt for other Linux-based systems like Ubuntu or even specialized distributions for IoT projects.
Here’s how you can install Raspbian:
- Download the Raspbian image from the official website.
- Use a tool like Etcher to write the image to an SD card.
- Insert the SD card into your Raspberry Pi and boot it up.
Once the OS is installed, you’re ready to move on to the next step.
Step 2: Enable SSH
SSH (Secure Shell) is a protocol that allows you to securely connect to your Raspberry Pi from another device. Enabling SSH is crucial for remote access.
To enable SSH on Raspbian:
- Open the terminal on your Raspberry Pi.
- Type the command
sudo raspi-configand press Enter. - Select “Interfacing Options” and enable SSH.
That’s it! SSH is now enabled on your Raspberry Pi.
Configuring Your Network for Remote Access
With SSH enabled, the next step is to configure your network settings to allow remote access. This involves setting up port forwarding on your router and obtaining a static IP address for your Raspberry Pi.
Assigning a Static IP Address
A static IP address ensures that your Raspberry Pi always has the same address on your local network. This makes it easier to connect to it remotely.
Here’s how to assign a static IP address:
- Open the terminal and type
sudo nano /etc/dhcpcd.conf. - Add the following lines at the end of the file:
interface eth0static ip_address=192.168.1.100/24static routers=192.168.1.1static domain_name_servers=192.168.1.1
- Save the file and reboot your Raspberry Pi.
Your Raspberry Pi now has a static IP address!
Setting Up Port Forwarding
Port forwarding allows you to direct incoming traffic from the internet to your Raspberry Pi. This is essential for accessing it remotely.
To set up port forwarding:
- Log in to your router’s admin panel (usually by typing its IP address in a browser).
- Locate the port forwarding settings and create a new rule.
- Forward port 22 (the default SSH port) to the static IP address of your Raspberry Pi.
With port forwarding in place, you’re one step closer to accessing your Raspberry Pi from the internet.
Securing Your Raspberry Pi
Security should always be a top priority when setting up remote access. Leaving your Raspberry Pi exposed to the internet without proper security measures can lead to unwanted consequences. Here are some tips to keep your device safe:
- Change the default password for the “pi” user.
- Disable password-based authentication and use SSH keys instead.
- Install a firewall to block unauthorized access.
- Regularly update your operating system and software to patch security vulnerabilities.
By following these best practices, you can ensure that your Raspberry Pi remains secure and protected.
Using SSH Keys for Authentication
SSH keys provide a more secure way to authenticate your connection compared to passwords. Here’s how to set them up:
- Generate a key pair on your local machine using the command
ssh-keygen. - Copy the public key to your Raspberry Pi using the command
ssh-copy-id pi@your_raspberry_pi_ip. - Disable password-based authentication by editing the SSH config file (
/etc/ssh/sshd_config) and settingPasswordAuthentication no.
With SSH keys in place, you’ve added an extra layer of security to your setup.
Accessing Raspberry Pi from the Internet
Finally, the moment you’ve been waiting for! With everything configured, you’re now ready to access your Raspberry Pi from the internet. Here’s how:
- Find your public IP address by visiting a site like whatismyip.com.
- Use an SSH client like PuTTY (Windows) or the built-in terminal (Mac/Linux) to connect to your Raspberry Pi.
- Type the command
ssh pi@your_public_ipand enter your SSH key when prompted.
Congratulations! You’ve successfully accessed your Raspberry Pi from the internet.
Troubleshooting Common Issues
Sometimes things don’t go as planned. If you’re having trouble connecting, here are a few common issues and their solutions:
- Connection refused: Double-check your port forwarding settings and ensure that your Raspberry Pi is online.
- Timeout errors: Verify your public IP address and make sure your router’s firewall isn’t blocking incoming connections.
- Authentication failed: Confirm that your SSH keys are correctly set up and try reconnecting.
With a little troubleshooting, you’ll be back on track in no time.
Advanced Techniques for Remote Access
Once you’ve mastered the basics, you can explore advanced techniques to enhance your remote access setup. Here are a few ideas:
- Set up a dynamic DNS service to avoid dealing with changing IP addresses.
- Use a reverse SSH tunnel for secure access even behind restrictive firewalls.
- Install a web server or remote desktop application for easier interaction with your Raspberry Pi.
These techniques can take your remote access capabilities to the next level.
Dynamic DNS Services
Dynamic DNS (DDNS) allows you to assign a domain name to your Raspberry Pi, even if your public IP address changes. Here’s how to set it up:
- Sign up for a DDNS provider like No-IP or DuckDNS.
- Install the DDNS client on your Raspberry Pi and configure it with your account details.
- Access your Raspberry Pi using the assigned domain name instead of the IP address.
With DDNS, you’ll never have to worry about changing IP addresses again.
Conclusion
Accessing Raspberry Pi from internet is a powerful skill that can open up a world of possibilities for your projects. From home automation to remote server management, the applications are limitless. By following the steps outlined in this guide, you can confidently set up your Raspberry Pi for remote access and enjoy the benefits it offers.
So what are you waiting for? Grab your Raspberry Pi, follow the steps, and start exploring the world of remote access. And don’t forget to share your experience in the comments below or check out our other articles for more tips and tricks!
Table of Contents:
- Why Accessing Raspberry Pi from Internet Matters
- Understanding the Basics of Raspberry Pi
- Setting Up Your Raspberry Pi for Remote Access
- Configuring Your Network for Remote Access
- Securing Your Raspberry Pi
- Accessing Raspberry Pi from the Internet
- Advanced Techniques for Remote Access
- Troubleshooting Common Issues
- Dynamic DNS Services
- Conclusion

Detail Author:
- Name : Talon Bayer
- Email : jay.williamson@harber.com
- Birthdate : 1984-06-21
- Address : 88467 Fannie Turnpike West Adriennebury, CT 78939-1832
- Phone : 224-805-3366
- Company : Blick Group
- Job : Kindergarten Teacher
- Bio : Nihil placeat temporibus quae quas quo ex in facilis. Nostrum labore modi perspiciatis magni est. Inventore est quidem et quia consectetur rerum numquam.
